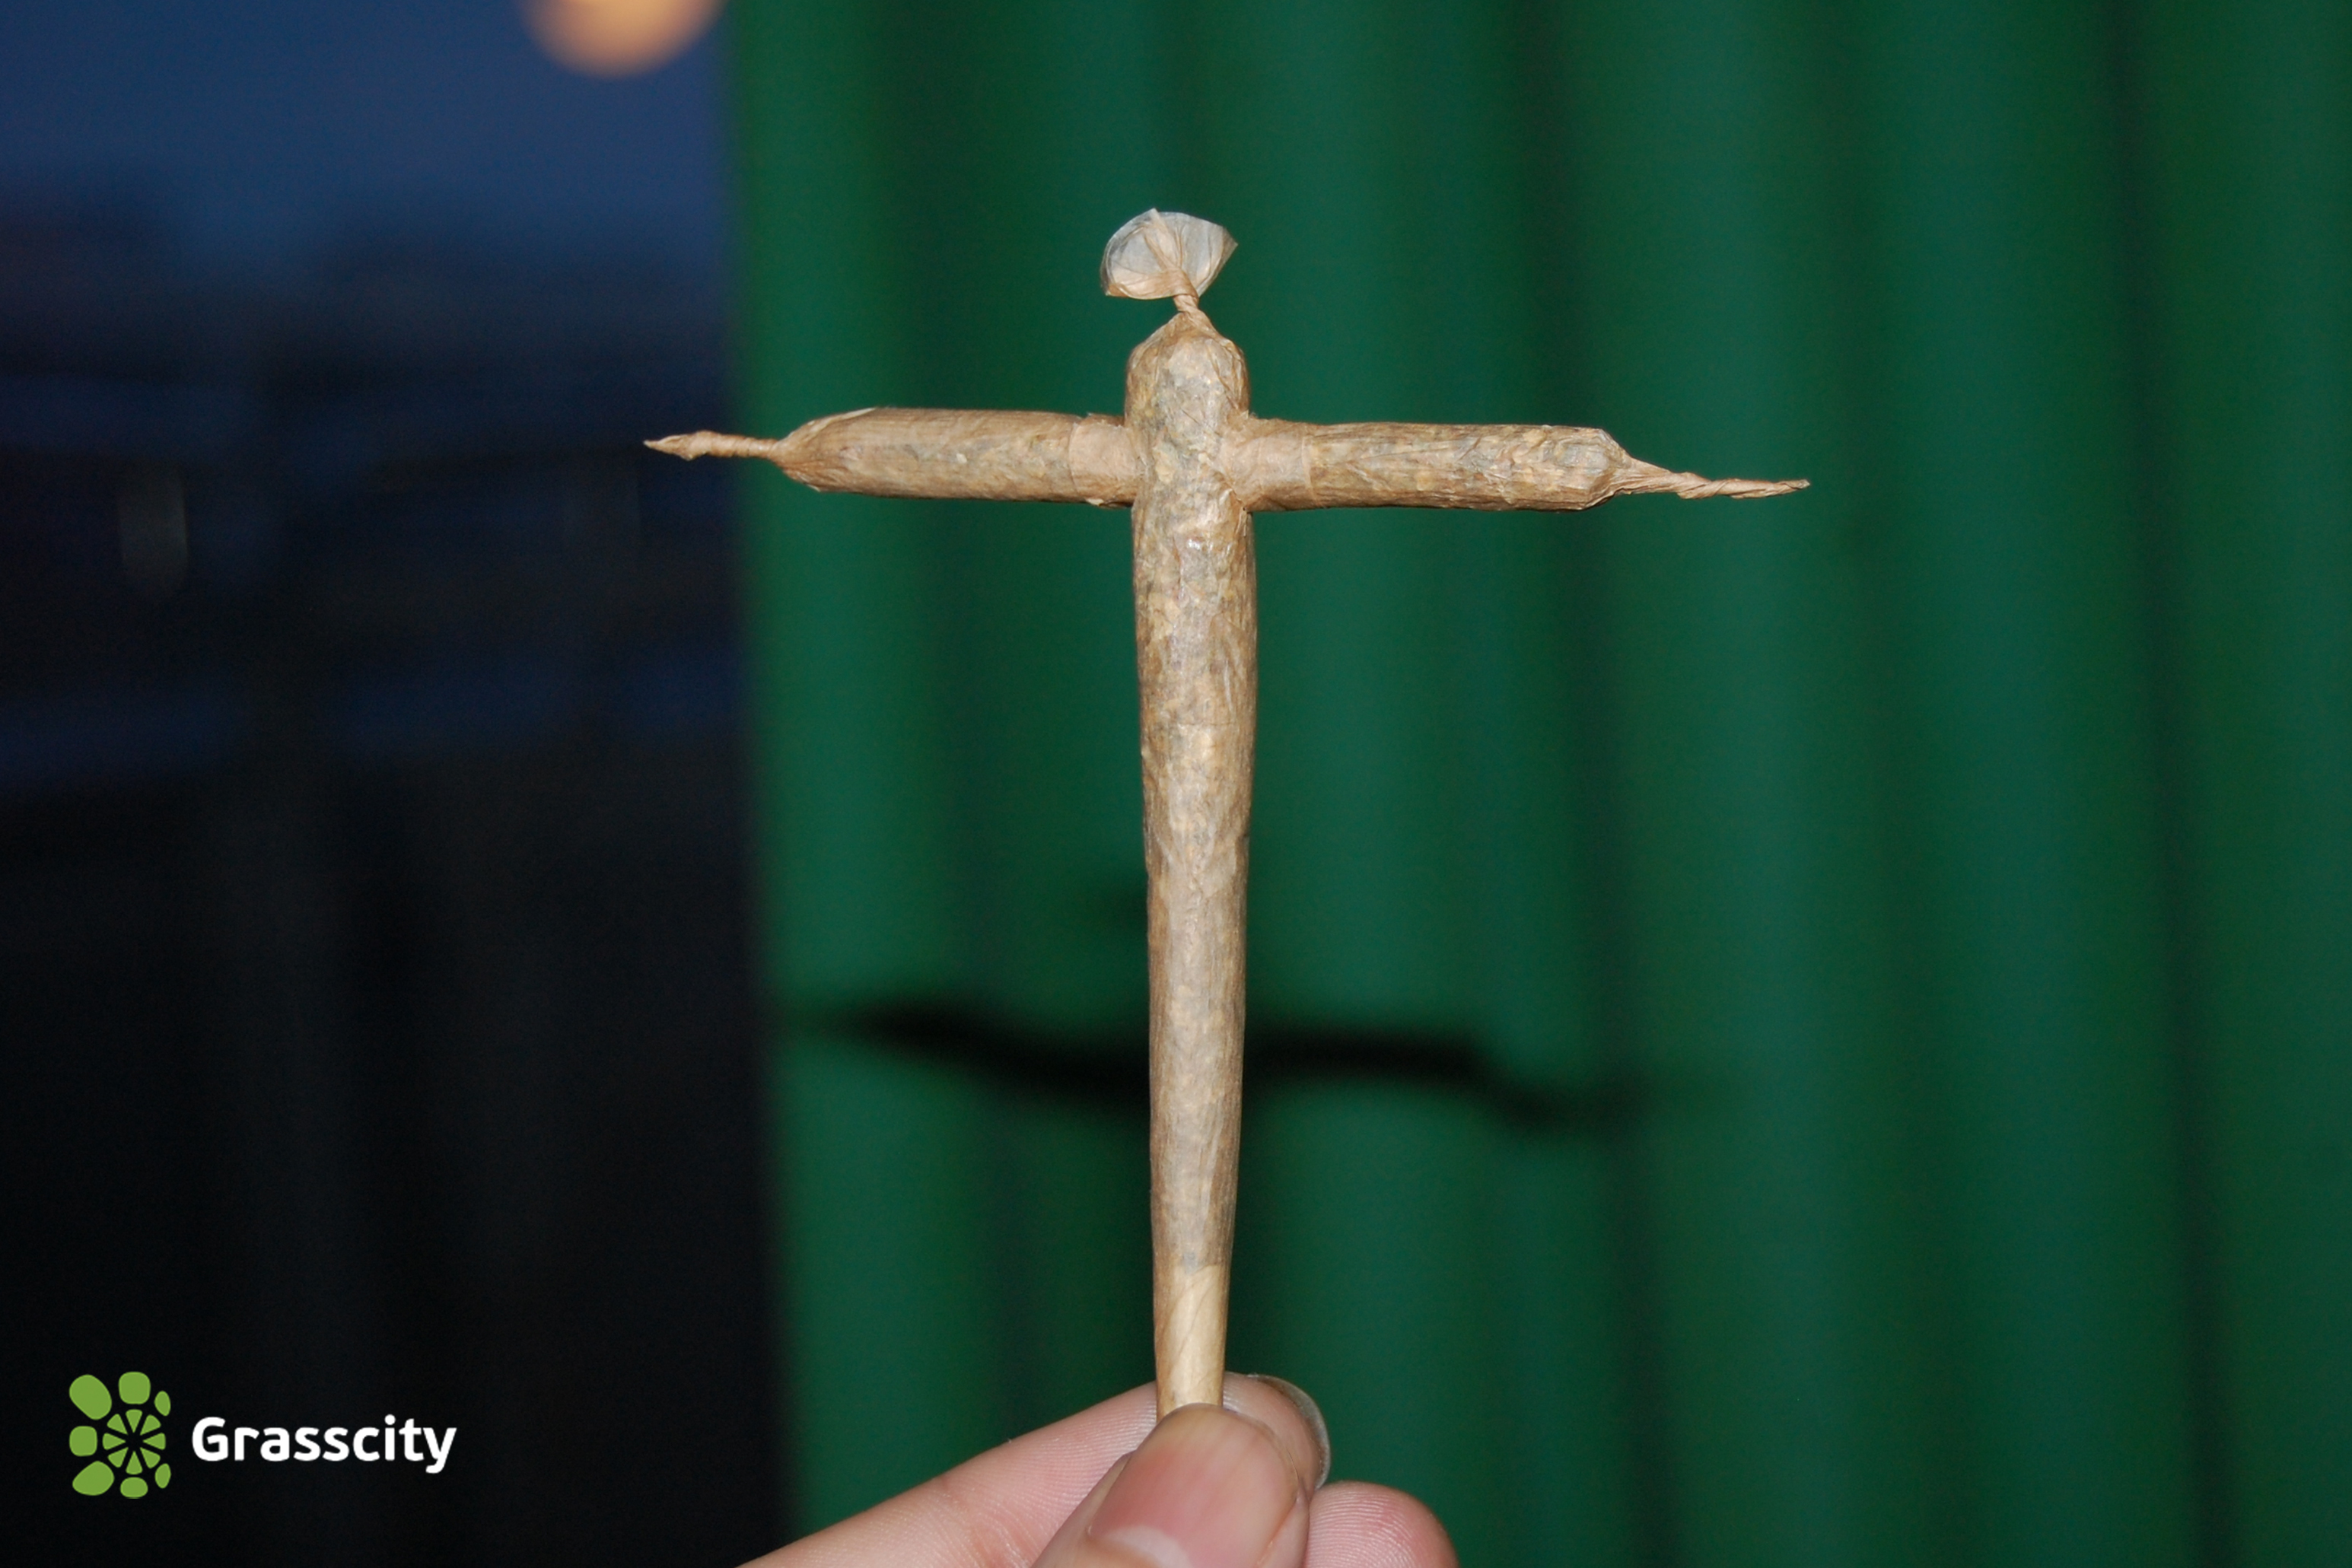
If you want to elevate your smoking game and impress your stoner friends, rolling a cross joint is a surefire way to do it. While it may seem daunting at first, it's easier to do than you think. In this guide, we'll show you step-by-step how to roll a cross joint so you can become the life of the party. So get your rolling papers ready, and let's get started!
What is a Cross Joint?
Let's start with the basics of this party trick. You've probably heard of a cross joint before, especially if you've seen the stoner classic Pineapple Express with James Franco and Seth Rogen. But what exactly is it? At its core, a cross joint is two joints intersecting to form a classic cross shape.
Pretty simple concept, but it's unique because it can be lit from three ends. This creates a fun smoking experience for group sessions or if you want to make new friends at a party. So, whether you want to show off your rolling skills or try something new, a cross joint is a fun and easy way to mix up your smoking routine.
What You Need to Roll a Cross Joint
To roll a cross joint, you need to gather a few things first. Obviously, and most importantly, you'll need your favorite strain of cannabis. A cross joint is nothing without some good weed.
Next up, you'll need a weed grinder. A grinder will give your weed a nice consistency for a good cross joint.
Of course, you'll also need some rolling papers. You'll need both large and small papers because the small papers will be used to connect the two joints.
You'll also need a pin, paperclip, or something similar to connect the two joints. This will help you make a hole in the larger joint to insert the smaller one.
Finally, a filter tip is optional but highly recommended. It'll make your smoking experience more enjoyable and keep your cross joint from falling apart. And trust us, you don't want all that hard work to go to waste because your joint breaks away in your hands.
How to Roll a Cross Joint in 7 Steps
Step 1: Roll a Fat Joint
First up, grab some full-size rolling paper and roll your first joint. Pack this one with way more bud than you would for a regular joint. The more weed you use, the easier it will be to build your cross joint.
Pro tip: leave a little bit of empty space at the end of your king-size joint to make it easier to light up.
Step 2: Roll a Smaller Joint
Now you roll the "cross" section of your cross joint by rolling a thinner joint than your main one. This will make it easier to assemble, but if you want a more even burn, go for a joint closer in size to the larger one.
And hey, don't be afraid to experiment. Rolling a cross joint is all about trial and error. Plus, trying both methods is the perfect excuse to roll multiple cross joints.
Once you're done rolling the thin joint, leave a twist at both ends. This will help keep everything in place when it's time to assemble your masterpiece.
Step 3: Poke a Hole in the Larger Joint
Now that your joints are rolled, it's time to tweak them to get that cross shape. Grab a pin or a needle and make a small hole about three-quarters of the way up your "fat" joint. Be gentle here and take it slow and steady as you guide the needle through the joint.
Now take your needle and gently wiggle it around to make the hole wider. But don't go too crazy because a smaller opening creates a better seal for the second joint. Look at the width of your small joint and make the hole just a bit smaller.
Step 4: Poke a Hole in the Smaller Joint
Take a break from the bigger joint now and focus on the thinner one. Grab your needle and carefully poke a hole straight through the middle but don't make it too big. This tiny hole is essential for proper airflow so the smoke can flow through the larger joint and into your mouth. So, take your time and make sure you're precise with this step. A wonky hole could leave you with a cross joint that's more frustrating than fun to smoke.
Step 5: Carefully insert the thin joint through the fat joint
Grab your small joint and carefully insert one end through the hole in your larger joint. It may take twisting, pushing, and pulling to get it through, but don't rush it. The goal is to get the small hole in the thin joint as close to the center of the fat joint as possible. This will help your cross-joint burn evenly and smoothly. Just be sure not to break either joint in the process.
Step 6: Wrap the intersection to ensure it’s airtight
Now it's time for the final touches. Grab your scissors and any two rolling papers. Cut off the glue from the papers and wrap the sticky strips around the intersection of the two joints. This will add some much-needed reinforcement to your joint.
Step 7: Light up the cross joint and enjoy
Congratulations, you've successfully rolled a cross joint! Now, it's time to light that baby up and watch heads turn. So grab your lighters, and your friends, light the ends of the joints, and take your smoking game to the next level with your perfectly rolled cross joint.