You probably do not think too much about what goes on inside your grinder. For many, it is a "use it and forget it" tool where flowers go in and fluffy ground herb comes out. While this simplicity is part of the appeal, neglecting your gear can lead to a decrease in performance and even health risks.
Whether you use a premium electric grinder or a classic manual piece, a bit of regular maintenance ensures your herb stays fresh and your tool stays functional for years. Here is everything you need to know about when and how to clean your equipment.
How to Tell When It Is Time for a Clean
Grinders come in many varieties, from basic two-piece models to elaborate four-piece designs. If you are using one of the more advanced metal grinders, you likely have several chambers with progressively finer mesh screens. These screens are designed to collect pollen that can be pressed into potent kief.
You will know it is time for a deep clean when you notice the following:
- The "Sticky" Twist: It becomes difficult to turn the lid due to resin buildup around the edges.
- Clogged Screens: If you notice your kief catcher is no longer filling up, your mesh screens are likely blinded by sticky trichomes.
- Dull Teeth: Small pieces of herb get compressed into the corners, preventing the teeth from shredding efficiently.
- Unpleasant Odors: Since herb is organic plant matter, old residue can eventually decay or even develop mold if left in a humid environment.
The Benefits of Regular Maintenance
If you regularly clean out the nooks and crannies of your tool, you are not just maintaining a device; you are recovering lost product. The "gunk" stuck to the sides is actually highly concentrated resin.
If you make a habit of scraping your wooden herb grinders or metal pieces regularly, that material is perfectly usable. You can use a small plastic or metal tool to collect this excess and toss it onto your bong bowls or into your dry herb vaporizers for an extra kick. Regular cleaning prevents this material from turning into a permanent, hardened shell that is much harder to remove later.
Deep Cleaning Your Grinder: Step-by-Step
When a simple scrape is no longer enough, it is time to pull out the big guns. Follow these steps to get your gear back to a factory-fresh state:
- Disassemble Everything: Take apart every chamber of your grinder.
- The Isopropyl Bath: Soak the metal pieces in high-percentage isopropyl rubbing alcohol. This solvent breaks down the sticky bonds of the resin effortlessly.
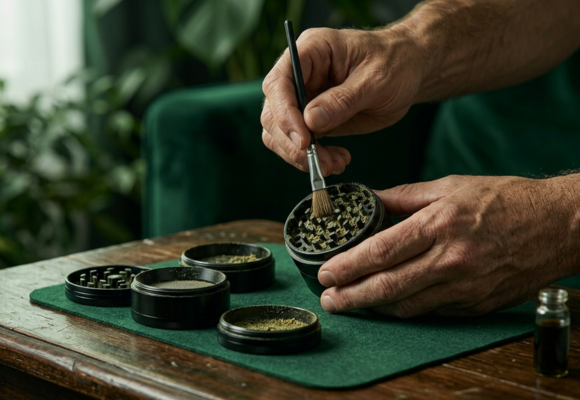
- Detail Work: Use a Q-tip or a specialized brush to dislodge any stubborn debris from the teeth and the threads.
- The Screen Scrub: Use a soft-bristle brush on the mesh screens to ensure they are completely clear for future kief collection.
- Rinse and Dry: Rinse all parts with warm water and let them air dry completely before reassembling. Putting a wet grinder back together can lead to mold and ruined herb.
Choosing the Right Tools for the Job
If you find that your current grinder is too difficult to clean or the teeth are starting to break, it might be time for an upgrade. You can find high-quality cheap grinders that are designed for easy disassembly.
For those who want to avoid the manual labor of cleaning threads, moving to a jar grinder or an electronic model can simplify your workflow. Regardless of which style you choose, pairing your freshly cleaned gear with a clean glass bong or a new set of rolling papers will significantly improve the flavor and quality of your session.


