

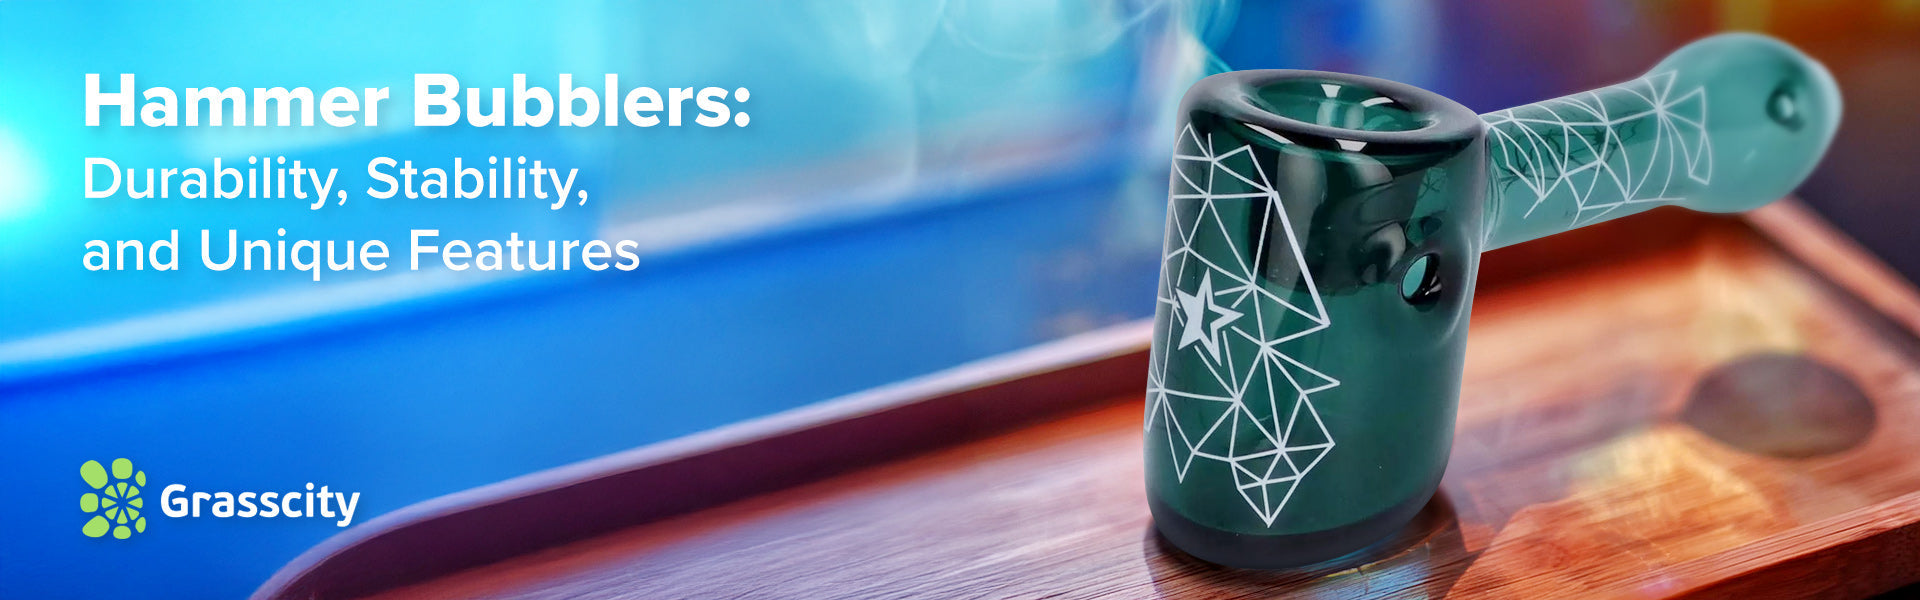
A glass hammer bubbler is a compact water pipe shaped like a hammer, combining the portability of a hand pipe with the smoother, water-filtered hits of a bong. The flat base keeps it upright between sessions. The water chamber cools and filters smoke before it reaches you. It is one of the most practical pieces in the bubbler category, easy to carry, easy to use, and built for everyday sessions.
What Is a Hammer Bubbler?
A hammer bubbler gets its name from its shape. The "hammerhead" end houses the bowl and water chamber, while the elongated neck serves as the mouthpiece. That flat-bottomed base is the design detail that makes it stand apart from most other bubblers, it sits level on any surface without tipping or rolling.
As a smoking device, it occupies the space between two familiar options:
- Hand pipes are compact and simple, but smoke travels directly from bowl to lungs with no filtration or cooling.
- Bongs deliver filtered, cooled hits but are larger and harder to carry.
The hammer bubbler gives you the water filtration of a bong in something close to the size of a pipe. If you want to understand where it sits against other styles, our bubblers vs. bongs guide walks through the key differences.
Anatomy of a Hammer Bubbler
Every hammer bubbler shares the same core components. Knowing what each part does helps you use it correctly and clean it properly.
Bowl: Where you load your ground herb. Sits at the top of the hammerhead. Sized to hold enough material for a full session without waste.
Water Chamber: The internal chamber inside the hammerhead that holds water. Smoke passes through this water before it reaches you, this is what cools and filters each hit.
Downstem: The small tube connecting the bowl to the water chamber. Smoke travels down through it and bubbles up through the water below.
Carb Hole: A small hole on the side of the piece, usually near the bowl. Cover it while you light the bowl, then release it to clear the smoke from the chamber. Not all hammer bubblers have a carb, some use a removable bowl instead.
Mouthpiece: The end of the elongated neck where you inhale. Ergonomically shaped to sit comfortably at the lips.
Flat Base: The defining structural feature. The angled flat bottom keeps the piece stable on any surface, preventing spills and protecting the bowl between hits.
How Water Filtration Works
The water inside a hammer bubbler does two jobs every time you take a hit.
Cooling Hot smoke passes through the water chamber and loses temperature before it reaches your throat. The result is a noticeably smoother pull, less bite, less harshness, easier on your lungs.
Filtration Water acts as a basic filter. As smoke bubbles through it, heavier particles and some combustion byproducts are captured in the water rather than traveling to the mouthpiece. What gets through is lighter, cleaner smoke.
This is the core reason smokers choose a hammer bubbler over a glass pipe. The smoking experience is simply smoother. The tradeoff is slightly more bulk and more frequent cleaning, both manageable for most users.
Hammer Bubbler vs. Other Pipe Styles
Not sure which style suits your routine? Here is how the hammer bubbler compares to the two closest alternatives.
|
Hammer Bubbler |
Hand Pipe |
Sherlock / Sidecar Bubbler |
|
|
Water filtration |
Yes, built-in chamber |
No |
Yes, built-in chamber |
|
Hit quality |
Cooled, smooth |
Hotter, harsher |
Cooled, smooth |
|
Portability |
Compact, travel-friendly |
Most portable option |
Available in both compact and larger styles |
|
Stability |
Sits flat on any surface |
Does not stand upright |
Varies by design |
|
Cleaning |
Regular water-chamber cleaning needed |
Minimal cleaning |
Similar upkeep to hammer |
|
Best for |
Daily use, home and on-the-go |
Maximum portability |
Style-focused collectors |
Sherlock bubblers share the same water filtration principle but use a curved stem design that prioritizes aesthetics. The hammer bubbler's flat base gives it a practical stability advantage for everyday use.
The Glassblowing Behind the Piece
A quality hammer bubbler is a product of skilled glassblowing and understanding that craft changes how you look at what you are holding.
Traditional vs. Modern Techniques
Traditional glassblowing uses gravity and hand tools to shape molten glass into basic forms. Modern lampworking uses a direct torch flame for greater precision, allowing glassblowers to work detailed forms, the internal water chamber, the controlled wall thickness, the smooth transitions between sections with accuracy that was not possible using older methods alone.
Why It Matters for Your Piece
The quality of the glassblowing directly affects the quality of your session:
Even wall thickness means the piece heats and cools uniformly, which reduces the risk of stress fractures over time.
Smooth internal transitions between the bowl, downstem, and chamber improve airflow and make draws feel natural rather than restricted.
Annealing the controlled cooling process after a piece is formed, relieves internal stress in the glass and significantly improves long-term durability. A properly annealed piece handles the heat of regular use far better than one that was cooled too quickly.
Borosilicate vs. Soda-Lime Glass
The glass type in your hammer bubbler matters more than most buyers realize. There are two common options.
|
Borosilicate Glass |
Soda-Lime Glass |
|
|
Heat resistance |
High, handles rapid temperature changes without cracking |
Lower, more susceptible to thermal shock |
|
Durability |
Significantly more resistant to breakage |
More fragile under regular use |
|
Clarity |
Superior, allows intricate designs and vibrant color work |
Good, but less optically clear |
|
Price |
Higher |
More affordable |
|
Best for |
Daily use, regular sessions |
Occasional or light use |
Borosilicate glass is the standard for quality smoking glass. Its resistance to thermal shock, the sudden temperature shift between hot smoke and cool water, makes it the practical choice for any piece you plan to use regularly. Most pieces in Grasscity's hammer bubbler collection are borosilicate.
Soda-lime glass costs less but degrades faster under daily use. It can work for occasional sessions, but it is not built for the repeated heating cycles of a regular ritual.
Design and Aesthetics
Hammer bubblers are functional first, but the best ones are also worth looking at.
Color-Changing Glass (Fumed Glass)
Some hammer bubblers are made with fumed glass, a technique where gold or silver is vaporized into the glass during blowing. The result is a piece that appears silver or gold when clean, then slowly develops a range of colors as resin builds up with use. Clean the piece and the colors reset. It is a visual record of your sessions built into the glass itself.
Handmade vs. Production Pieces
Handmade hammer bubblers are individually crafted by a single glassblower, which means no two are exactly alike. The color distribution, the subtle curves, the way the pattern sits in the glass, all of it varies slightly from piece to piece. This is the nature of the craft, and for many collectors it is the point. If that appeals to you, look for pieces described as handmade or hand-blown in the product listing.
Size Considerations
Smaller pieces (under 5 inches) prioritize portability. They travel easily, fit in most bags, and are easier to keep discreet. The water chamber is smaller, which means slightly less cooling.
Larger pieces (6 inches and above) hold more water, produce smoother hits, and make a stronger visual statement. Better suited for home use than travel.
How to Use a Hammer Bubbler
Simple to use once you know the process. Here is the full walkthrough:
Step 1: Fill with water Add water through the bowl or mouthpiece until the chamber is partially filled. The right level has the downstem submerged but leaves enough space that water does not splash into the mouthpiece when you inhale. Test by inhaling gently, you should hear and feel bubbling without getting water in your mouth.
Step 2: Grind and pack Grind your herb to a medium-fine consistency. Load the bowl without packing it too tightly, the material needs some airflow through it. A loose, even pack burns more evenly and pulls more smoothly.
Step 3: Cover the carb If your piece has a carb hole, place your thumb or finger over it before you light the bowl.
Step 4: Light and inhale Hold the lighter to the edge of the bowl while drawing slowly through the mouthpiece. You will see and hear the water begin to bubble. Draw at a steady pace, not too fast or the hit will be harsh, not too slow or the bowl will go out.
Step 5: Clear the chamber When you have drawn enough smoke into the chamber, release the carb (or lift the bowl if there is no carb) and inhale the remaining smoke. This clears the chamber completely.
Step 6: Exhale and repeat Let the piece rest between hits. The water continues to cool the glass slightly between sessions, which helps with consecutive draws.
Water level tip: The most common mistake is overfilling. Start with less water than you think you need and adjust up. Too much water produces splashback; too little reduces the cooling effect.
Cleaning and Maintenance
A clean piece delivers noticeably better flavor than a neglected one. Resin builds up quickly in the water chamber and downstem and starts affecting taste within a few sessions.
What You Need
- Isopropyl alcohol (90% or higher)
- Non-iodized coarse salt
- Pipe cleaners or a small brush
- Warm water
- A sealable bag or container
Step-by-Step Cleaning
1. Empty the water: Pour out old water immediately after a session. Stale water left sitting accelerates resin buildup and makes the next clean harder.
2. Rinse with warm water: Run warm water through all openings to loosen any fresh residue before it sets.
3. Fill with alcohol and salt: Pour isopropyl alcohol into the chamber, add a generous amount of coarse salt, and cover all openings. The alcohol dissolves resin; the salt acts as an abrasive to scrub it off the interior walls.
4. Shake thoroughly: Cover the openings with your fingers or caps and shake the piece firmly for 30 to 60 seconds. For heavy buildup, let it soak for 30 minutes first, then shake.
5. Scrub narrow passages: Use a pipe cleaner or small brush to reach the downstem and any tight passages the shaking did not fully clean.
6. Rinse completely: Flush all parts with warm water until no trace of alcohol or salt remains. Residual alcohol affects taste.
7. Air dry: Set the piece upside down on a clean surface and let it dry fully before the next session.
Maintenance Habits That Make a Difference
- Change the water after every session. Fresh water every time is the single highest-impact habit for flavor.
- A quick rinse after each use reduces how often you need a full clean.
- Store the piece upright on its flat base with the bowl empty. A padded case adds protection against chips and cracks during transport.
- Avoid sudden temperature changes, do not pour cold water into a hot piece or place a warm piece into cold water.
What to Look for When Buying
Glass quality first
Look for borosilicate glass and thick walls. Tap the piece lightly, good quality glass has a clear ring rather than a dull thud. Thin glass is more prone to cracking at the rim and base, which are the two highest-stress points on a hammer bubbler.
Check the base
The flat base is one of the hammer bubbler's main practical advantages. Check that it sits level without rocking. A slightly uneven base means a piece that will tip under light use.
Inspect the downstem and carb
The downstem should extend clearly into the water chamber. The carb hole (if present) should be positioned comfortably under your thumb when you hold the piece naturally not awkwardly placed where you have to adjust your grip to reach it.
Consider the size relative to your use
Compact pieces under 5 inches are better for travel and portability. Larger pieces above 6 inches are better suited to home sessions where the extra water volume makes a meaningful difference in hit quality.
Price as a signal, not a guarantee
Higher price generally reflects better glass quality, more skilled craftsmanship, or more complex design. But the most expensive piece is not automatically the right one. Match the quality tier to how often you plan to use it, a daily piece deserves a higher investment than something used occasionally.
Browse the full hammer bubbler for sale to compare options across size, style, and price.
Ready to Shop
Whether you're upgrading your stash or buying your first bubbler, the right hammer bubbler depends on how and where you plan to use it. For travel, a compact borosilicate piece under 5 inches is the practical choice. For home sessions, a larger piece with more water capacity will consistently deliver smoother hits.
Browse the full hammer bubbler collection at Grasscity, or explore the wider bubblers range if you want to compare hammer styles against Sherlock, sidecar, and scientific options before deciding.


